As always, Miles was super helpful and even provided detailed pictures on how to fit the gasket to the window first, glue then ends, then fit to the car before trying to install the windshield. Along the way, I discovered that the gasket that I removed was not the same as the gasket I received from Kevin (the correct one), so I had to adjust my planned installation slightly.
Anyway, here are some pictures to help document (mainly so I can refer back to when I forget how what I did).
Additionally, some noticings: the original glass was the two-ply, 1/4 inch. The replacement was not, it was more of a single, thinner glass. Overall, the job was not as difficult as I had built it up to be. Of course, when handling the replacement windshield I was so thinking I was going to break it (hence the no pictures of that glass). I'm very pleased with the result and it's

The finished product!

Installing the locking strip, Windex was helpful.

The seal spreading tool sourced from amazon.


With the windshield installed

Placing the window within the bottom groove, and gently sliding it down.

Continuing to adjust glass within the seating.

Long way to go still.

Seal glued, I used gorilla super glue, with the ends pushing together, it created a nice seal.

Not pictured is the seal being fitted around the new glass. This is the new seal being fitted to the car.
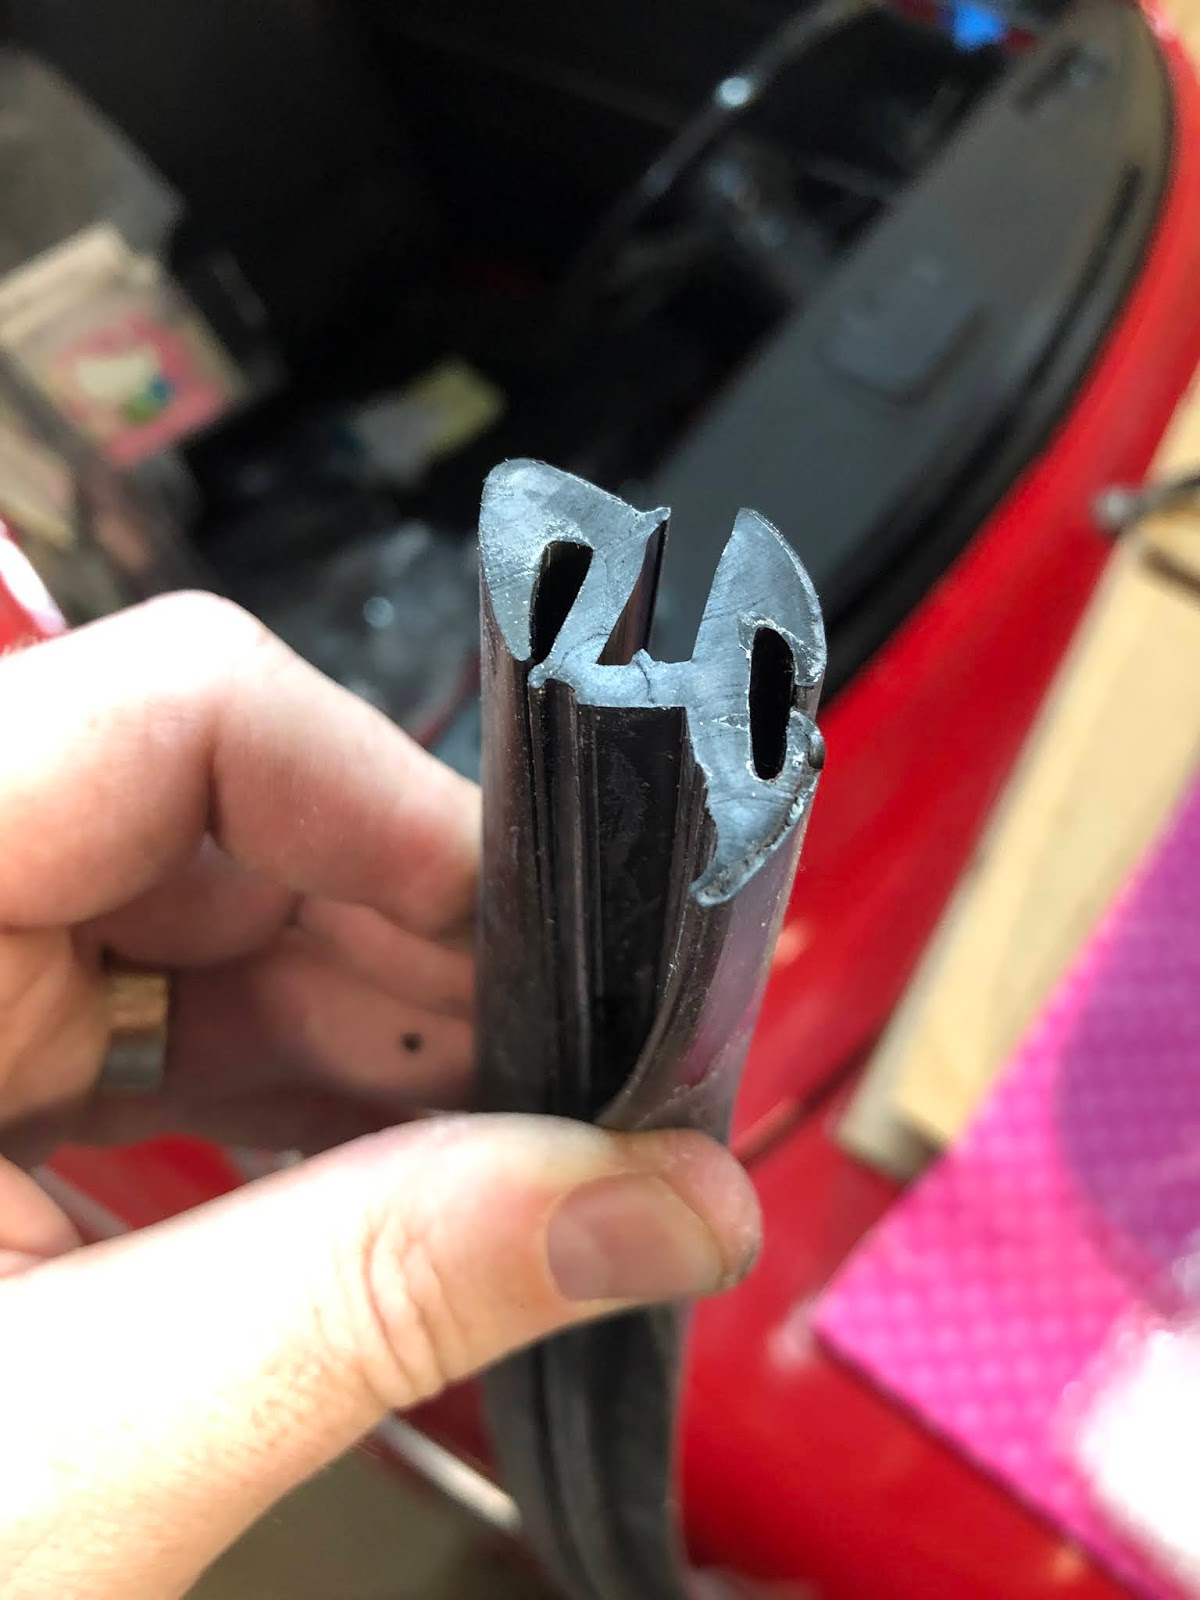
This is the seal received from Kevin.


The crack in the window.

...and so the removal begins. Simply cut away with a razor blade.
No comments:
Post a Comment